Integrate IDrive® e2 with Jet Backup5
Jet Backup5 is an ideal solution for website owners and hosting providers, providing automated backups, encryption, and granular recovery. Use IDrive® e2 as a reliable storage destination for your JetBackup5.
Learn more about Jet Backup5.
Prerequisites:
Before uploading files using Jet Backup5, you require:
- An active IDrive® e2 account. Sign up here if you do not have one.
- A bucket in IDrive® e2. See how to create a bucket.
- Valid Access Key ID and Secret Access Key. Learn how to create an access key.
- A valid Jet Backup5 account.
Configure IDrive® e2 with Jet Backup5
- Login to Jet Backup5 console.
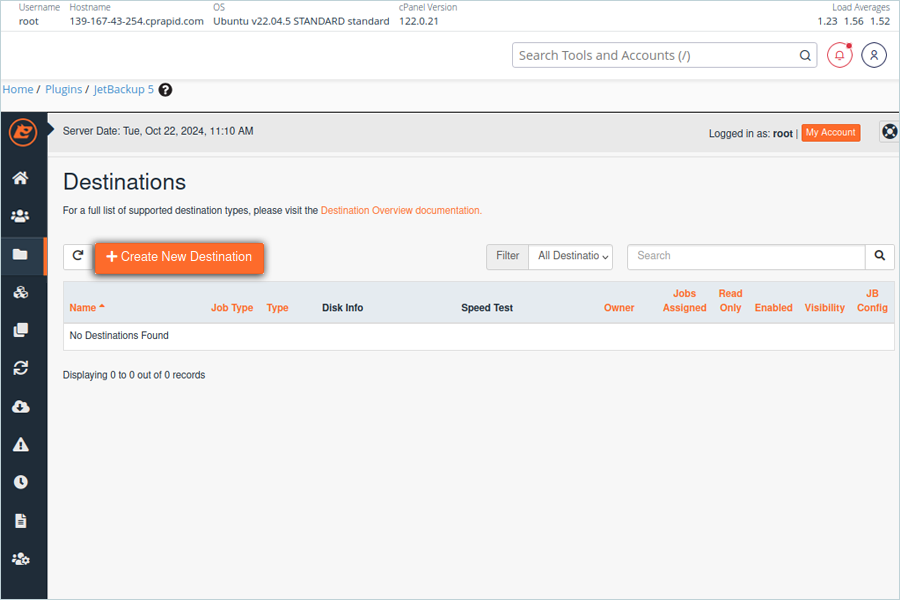
- Navigate to Destination.

- Click Create New Destination to add a new destination.
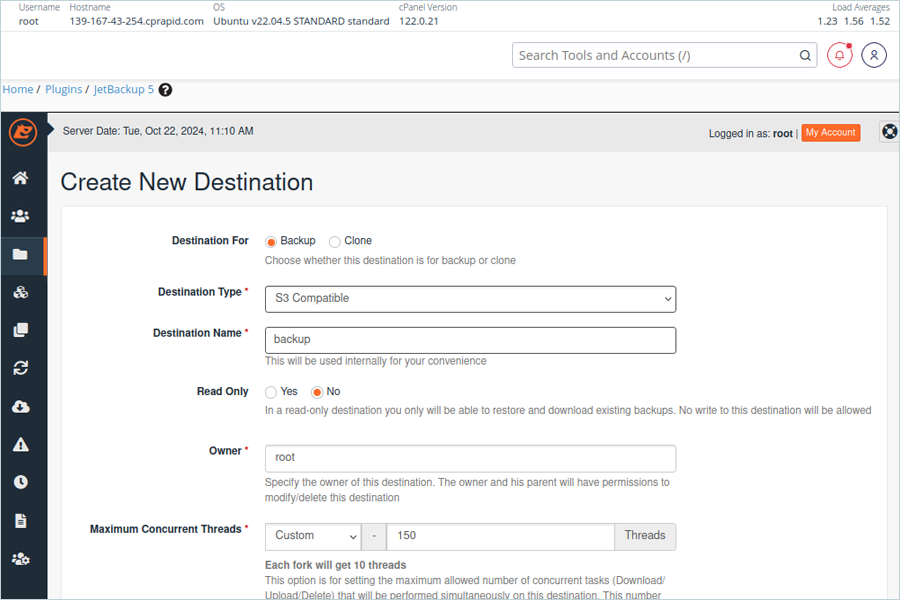
- Select the option for Destination (Backup / Clone).
- Select S3 Compatible as Destination Type from the drop-down.
- Enter a Destination Name.
- Keep the default options for Read-Only and Owner.
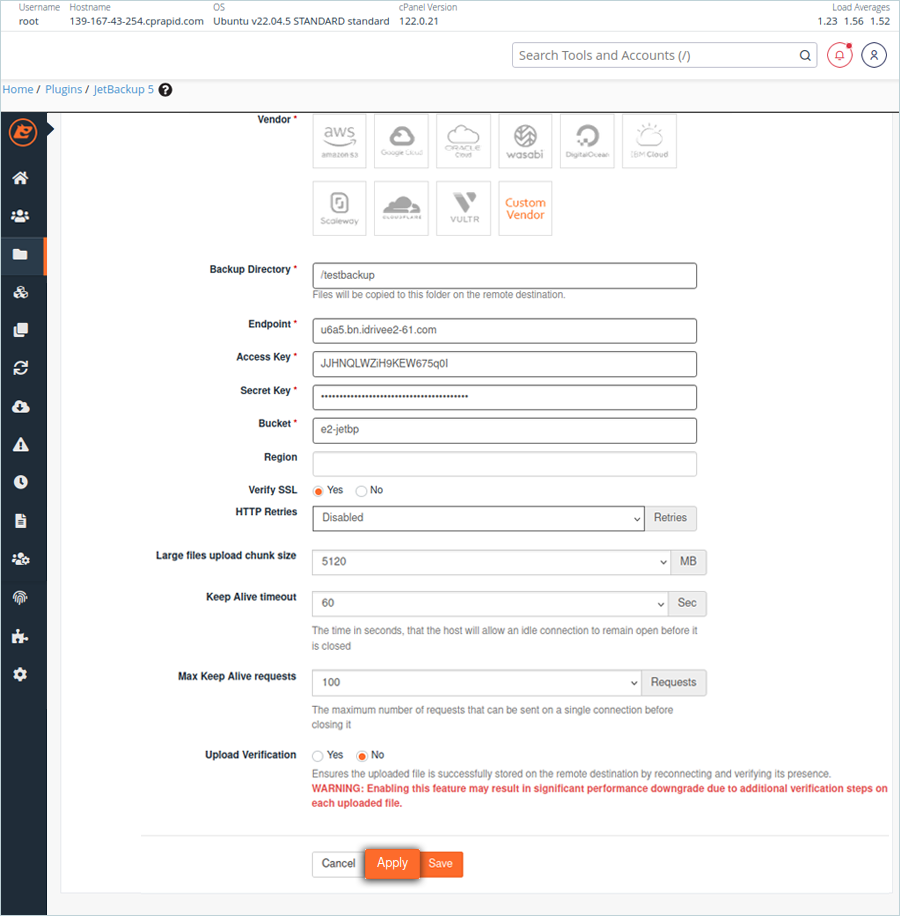
- Select Custom Vendor from the vendor's list.
- Enter a name for the Backup Directory (This will create a folder in destination e2 Bucket).
- Enter the IDrive® e2 storage end-point as Endpoint.
- Enter the IDrive® e2 Access Key as the Access Key.
- Enter the IDrive® e2 Secret Access Key as the Secret Key.
- Enter the IDrive® e2 Bucket name as Bucket Name.
- Select other options as required (Try with default values).
- Click Apply/Save to add a new destination.
- Navigate to Backup Jobs.

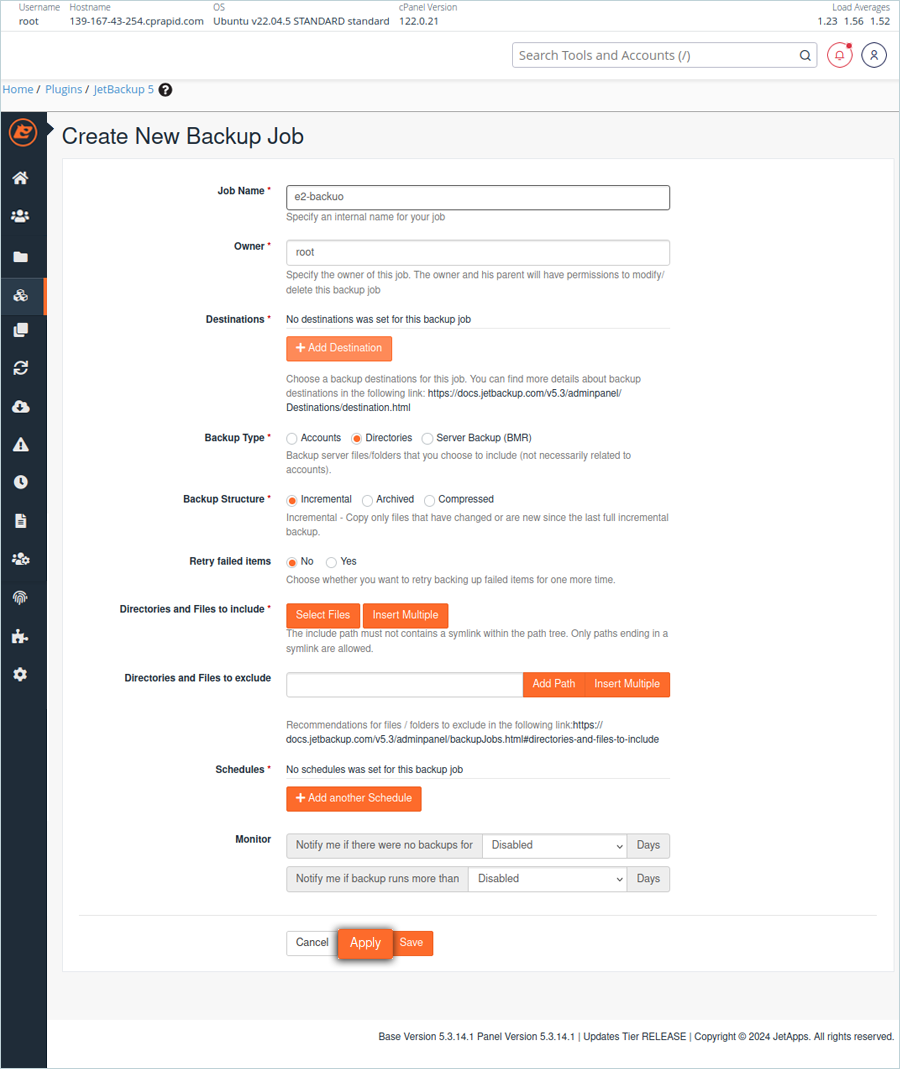
- Click Create New Backup Job to add a new job.

- Enter a name for the Job.
- Keep root as Owner.
- Click Add Destination to select a destination.
- Select the added destination from the destinations list.
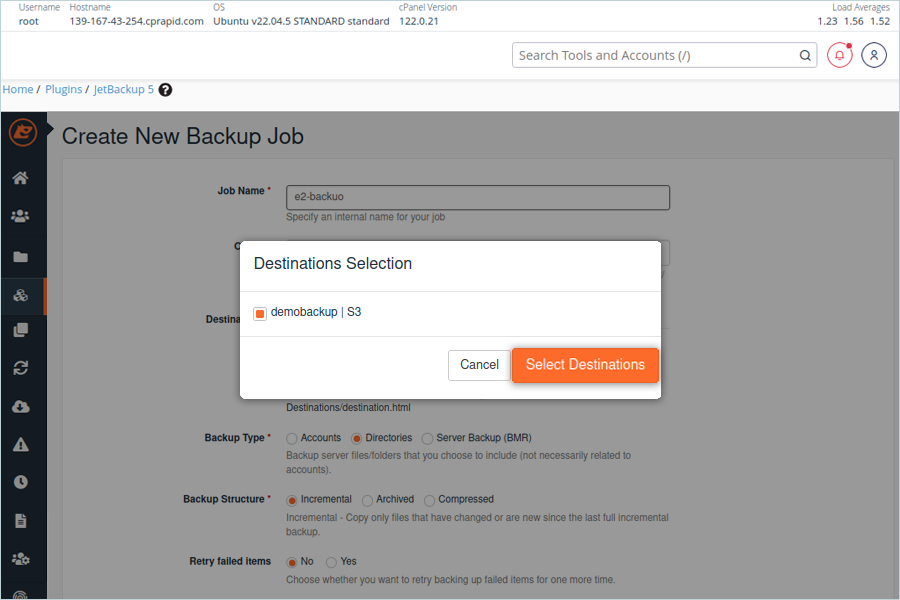
- Select Backup Type as required (Ex: Directories).
- Click Select Files to add directories and files that you want to include for backup.
Note: This option will only be available if you select Directories as the backup type. - Click Add another Schedule if you want to schedule a backup.
- Click Apply / Save to add a new backup job.
- In the Backup list, select backup and click Run Backup Job Now.
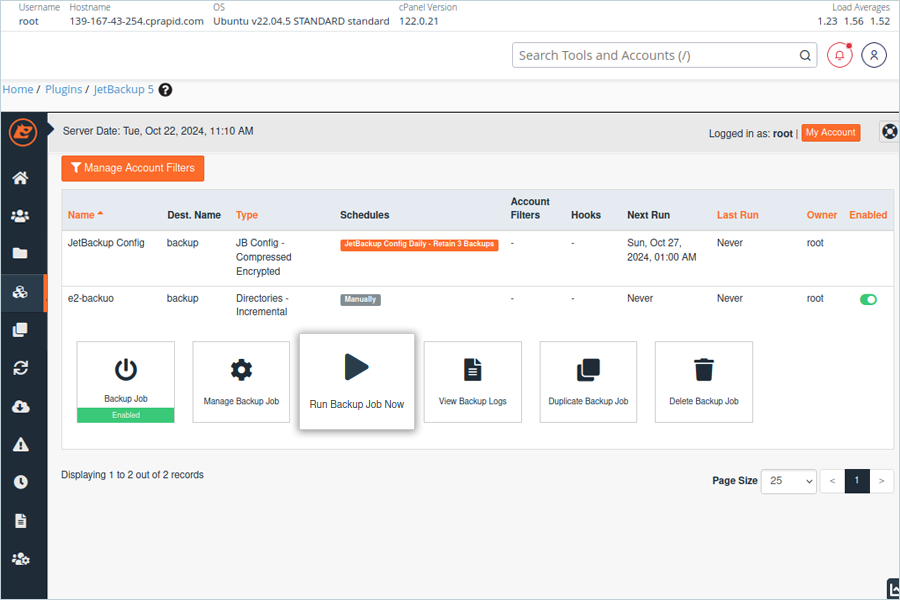
Note: This option lets you manually run the backup; otherwise, backups will run as per the set schedule.
Add Backup Job and run backup
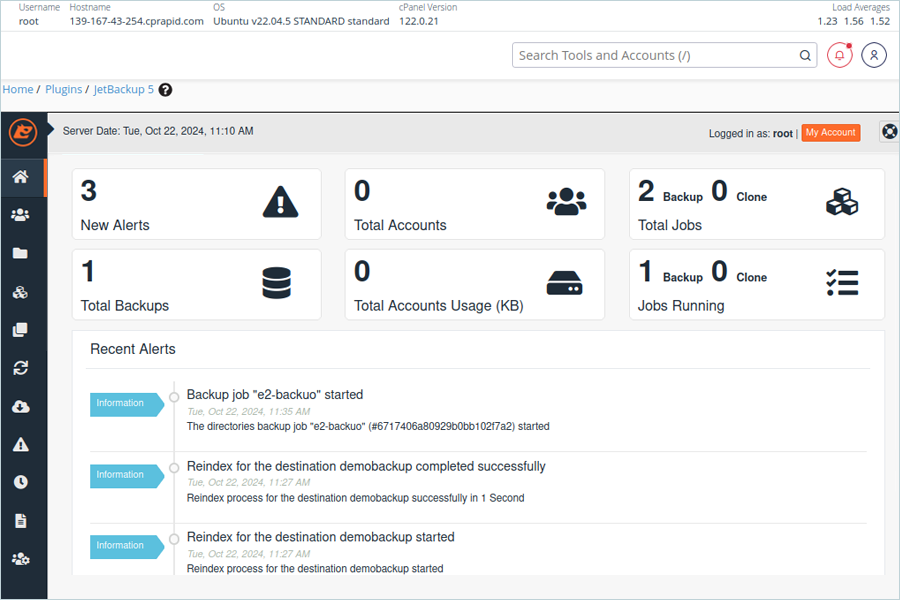
Result: The user can view all backed-up files and directories in the destination e2 bucket under the designated destination folder.
Note: Data restoration is handled by your specific backup solution provider and is affected by multiple variables that are unique to your environment. For application-related enquiries/support, it is strongly recommended you seek guidance from the technical team of your backup solution provider.